Last week was the Libre Graphics Meeting (LGM) 2020 online conference. The LGM is normally an occasion for all the contributors of graphics related Free Software to meet physically, and this year we had planned to organize it in our city of Rennes, France. But of course, with the current situation, we were forced to cancel the physical event. We hesitated to make an online event instead, as the biggest interest in this event is to have a physical meeting. We ran a poll to see if there was enough interest for an online event, and the result showed us that there was.
As several people asked me about the technical setup used for the stream, I’m going to explain it here.
I was inspired a lot by the solution used for the Libre Planet conference, which used a jitsi meet instance to receive the stream of remote speakers, and sent it to an icecast server using a GStreamer based script to record the screen.
The first difference is that we decided to ask all the speakers to send a pre-recorded video of their presentation. We felt it was safer to get a good quality source for the talks, as some speakers may not have enough bandwidth on their internet connection for a reliable high-quality live session. And it was also safer to have a good quality recording available to publish the videos after the event.
We kept the jitsi meet live setup only for the Q&A sessions after each talk, where participants could ask their questions on the irc chat channel and get answers from the speakers in the video stream. We also used the same setup for workshops, as it is more interesting to have a live workshop with interactions from participants than a pre-recorded one.
The second difference, is that I used FFMPEG instead of GStreamer for my script to record the screen and send it to the stream server. The reason is that I noticed GStreamer was a bit less reliable depending on the version used; with some GNU/Linux distributions, it was not working at all from the beginning, and with other distributions it was working at first and then a few days later it stopped working, I’m not sure why… So I made some tests hacking a script with FFMPEG, and this one was working in any case. More about it below.
I also could evaluate Big Blue Button at some point, but I was not convinced by it… For some pure slideshow-based presentations it could have been better, but for video and screen sharing I found it less efficient than the other solution… In my tests of BBB, it didn’t provide a way to play a video file (other than using youtube), screen sharing was more resource intensive than with jitsi and it could not share the audio output from the computer (only the microphone input). So I decided to keep the video+jitsi+icecast solution.
About the technical setup, it was like this:
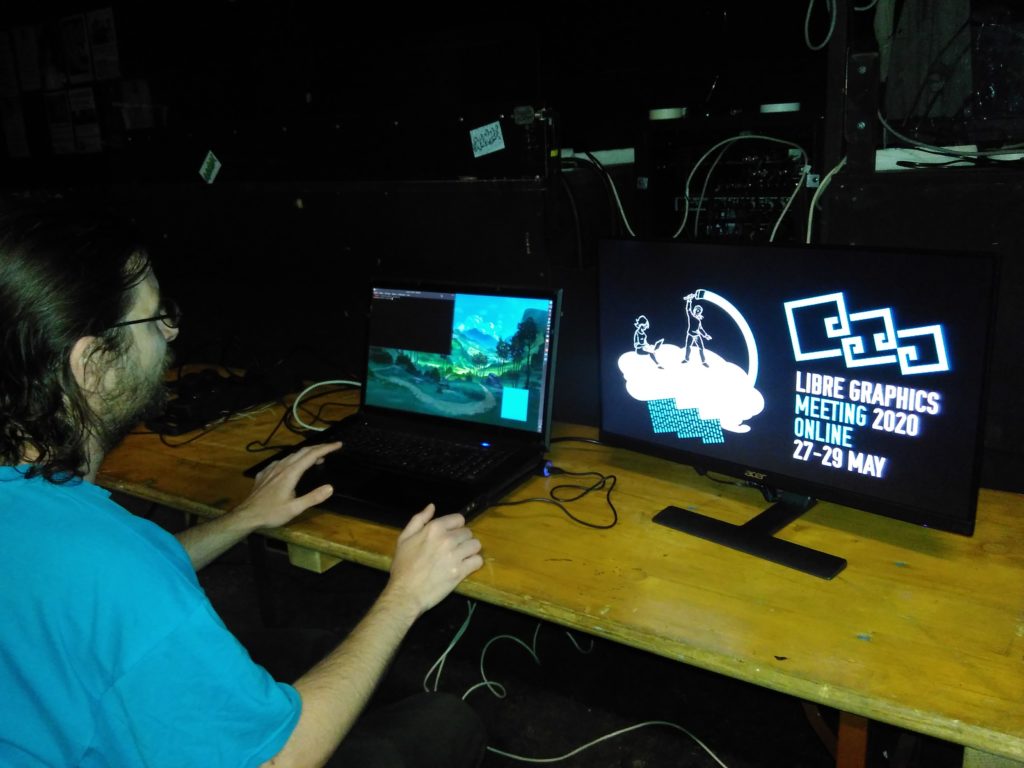
-I was hosted by Le Jardin Moderne, one of our initial local partners, as they have a good internet connection that allowed to safely receive the jitsi meet video while sending the stream to the icecast server.
-I had my computer, with a second screen set to extend my desktop on the right side. The second screen was used as the “live canvas” to record everything that was streamed, while the primary screen was used for everything else (the irc chat, the command line to manage the stream, a web browser to check different things, …)
-Of course we had an icecast server setup (thanks to Brendan Howell for providing it).
-For the script, like I said it was using FFMPEG to grab the screen and the audio output, and to both record it to a file and send it to the icecast server. The next problem was: while using FFMPEG to only send to the server or to a file was working flawlessly, trying to do both at once didn’t work at first.
To send the result to multiple outputs, FFMPEG has a special “tee” output. The problem is that when using the tee output, the option used to set the stream content_type to video/webm (which is needed for the icecast server to know the type of content streamed) was discarded, and it was using the default value audio/mpeg instead, which of course made the result unreadable. Normally, according to the documentation, it should have been possible to pass this option specifically to the icecast output inside the tee output, but it was not working. My quick solution to fix this locally was to just edit the source of FFMPEG to change the default value from audio/mpeg to video/webm (which is set in the file libavformat/icecast.c ), rebuild it, and then everything was working perfectly. Since then, I’ve reported the issue in their bugtracker, and it was indeed a bug as passing the option to the iceacest output should have worked. So, for those who want to use a similar script now, you will have to rebuild FFMPEG, either with the different hardcoded default value (which is fine if you only need to send to a single icecast output), or with the patch found in the bugreport (which allows to send to multiple icecast output with different formats). Hopefully it should be fixed in their next release, and this issue will soon become ancient history.
The script used to record and send the stream to the icecast server looks like this:
#!/bin/sh
DATE=$(date +%Y-%m-%d-%H_%M_%S)
clementine -p
sleep 5s
ffmpeg -video_size 1920x1080 -thread_queue_size 512 -framerate 30 -f x11grab -i :0.0+1920,0 \

-thread_queue_size 512 -f pulse -ac 2 -i jack_out.monitor \

-f webm -cluster_size_limit 2M -cluster_time_limit 5100 -content_type video/webm \

-vf scale=640:-1 \

-acodec libvorbis -aq 4 \

-vcodec libvpx -b:v 1000K -crf 40 -g 150 -deadline good -threads 2 \

-f tee -map 0:v -map 1:a "icecast://source:password@example.url:8000/video.webm|record-video-${DATE}.webm"
I can explain it a bit for those who need some details:
- DATE=… is used to grab the current date and time to make a sort of unique identifier used in the name of the file output.
- clementine -p is used to launch the audio player clementine and make it play the current playlist. This was needed as the ffmpeg script was failing to start if there was no audio at all in the output. So, I just created a silent audio file and added it to an empty playlist in clementine, and that did the trick. Of course you can use your favorite audio player instead of clementine. Also, note that this was especially needed here as I’m using the jack audio server, it may not be needed if you use pulseaudio only, or if you grab an input like a microphone which should always send some kind of signal… You can test on your setup if it’s needed or not.
- sleep 5s before the ffmpeg command gives a 5seconds delay between launching the script and starting the ffmpeg recording and stream, which can be useful especially if you have a single screen and you want to hide your terminal before the recording starts.
Then, the ffmpeg options:
(note for beginners: as the ffmpeg commad has a lot of options, it needs several lines, so every line ends with a \ to continue on the next line)
- -video_size 1920×1080 -thread_queue_size 512 -framerate 30 -f x11grab -i :0.0+1920,0 \
These are the options for the video input. I’m grabbing an area of 1920×1080, at 30 frames per second, with the X video server. With :0.0+1920,0 , I select only the area of the second screen, as the first screen is also 1920 pixels wide. The thread_queue_size 512 option, both on the video and audio input options, is useful to give enough time for the script to synchronize properly both inputs (without it, the script was giving a lot of warnings, and the audio could easily be not properly synchronized with the video).
- -thread_queue_size 512 -f pulse -ac 2 -i jack_out.monitor \
These are the options for the audio input. Here I’m using the output of pulseaudio called jack_out.monitor, as I am using jack as my main audio server, and pulseaudio is bridged to jack. If you use only pulseaudio, you can replace jack_out.monitor with default, and use pulseaudio graphical interface (pactl) to select the default input to use. Or you can define exactly which input from pulseaudio you want to use (you can list the name of all available input devices with this command: pacmd list-sources | grep -e ‘index:’ -e device.string -e ‘name:’ )
- -f webm -cluster_size_limit 2M -cluster_time_limit 5100 -content_type video/webm \
These options define the webm format for the output. cluster_size_limit and cluster_time_limit are values specific to adapt the cluster settings for the icecast server, check the ffmpeg documentation for more details. Also, as I said previously, the -content_type option is used to specify the type of content send to the server. However, this option is only useful in this place if there is a single output, else it should be specified inside the tee output (with the patched ffmpeg or the next version of it).
- -vf scale=640:-1 \
This one scales the video input to a 640 pixels wide output, and -1 for the height means “adapt the height value to keep the original ratio of the input”.
- -acodec libvorbis -aq 4 \
Select the codec vorbis for the audio, with a quality setting of 4.
- -vcodec libvpx -b:v 1000K -crf 40 -g 150 -deadline good -threads 2 \
Select the vp8 codec for the video encoding, with a bitrate of 1000K per second, a quality target of 40, a maximum period of 150 frames between two keyframes, the “deadline good” option for the encoding speed, and use 2 threads for it.
- -f tee -map 0:v -map 1:a “icecast://source:password@example.url:8000/video.webm|record-video-${DATE}.webm”
This is where the output is defined, in the end. Here, I’m using tee to have multiple output. -map 0:v -map 1:a says “use the first input in the command for the video, and the second input for the audio”. Then the two outputs are inside the “”, with | to separate them.
If you use the patched-ffmpeg or next version, you should replace this last line with:
- -f tee -map 0:v -map 1:a “[content_type=video/webm]icecast://source:password@example.url:8000/video.webm|record-video-${DATE}.webm”
Else if you only need the icecast output, you can replace this line with:
- icecast://source:password@example.url:8000/video.webm
Or if you only need a file output, replace it with:
- record-video-${DATE}.webm
And of course for icecast, adapt the source, password, url and mountpoint name according to your icecast configuration.
A final note about the resolution used for the output: in the first place, I was naively hoping I could send a 1920×1080 stream, or even 1280×720. The truth is that my computer could not handle encoding in a stable way at a higher resolution than 640×360 while at the same time receiving a video from jitsi. With a more powerful computer of course, it would have been possible. But in the end, this lower resolution was also good to put less weight on the icecast server (we could stream to 100 people without issues), and it also meant that people could watch the stream even with a relatively low internet connection. And it surely reduced the overall ecological impact of the event. Somehow in this case, less is more. And this low resolution was in practice good enough most of the times, at least as long as we made sure that the content sent was big enough to be scaled down to it (one workshop had some initial issues with it, but after lowering the resolution of the speaker’s screen it was okay, and we learned from that mistake to avoid similar issues in next workshops).
I hope this post will be useful for others to run their online event.
Again, thanks to all the participants, and everyone who helped us make this online event successful. The edited videos are available on youtube and on peertube (upload should be finished tomorrow).
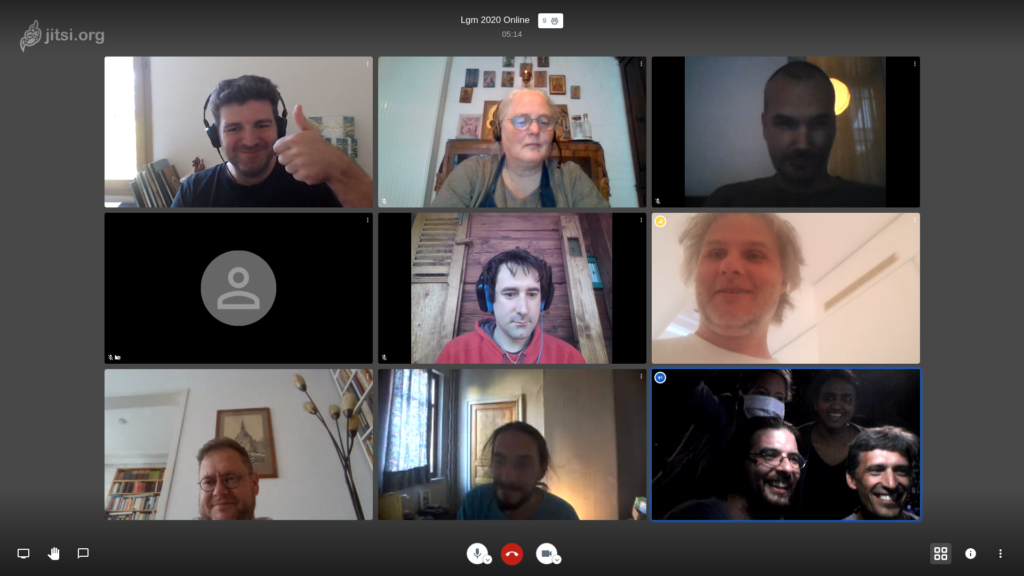
… an improvised group screenshot taken at the end of the last day. If you attended the event but missed the photo, add your face in the empty spot 😉
I hope we will be able to run the physical LGM in Rennes next year!